Recalbox is installed? Perfect. This page covers your first ten minutes: booting up, setting your language, configuring your controller, and playing.
¶ 1. First boot
Connect your box to your TV with the HDMI cable, plug in your USB controllers if you have any, then plug in the power supply: Recalbox starts.
Most USB and Bluetooth controllers work right away. If yours is not recognized, Recalbox will offer to configure it — see step 3.
¶ 2. Set your language
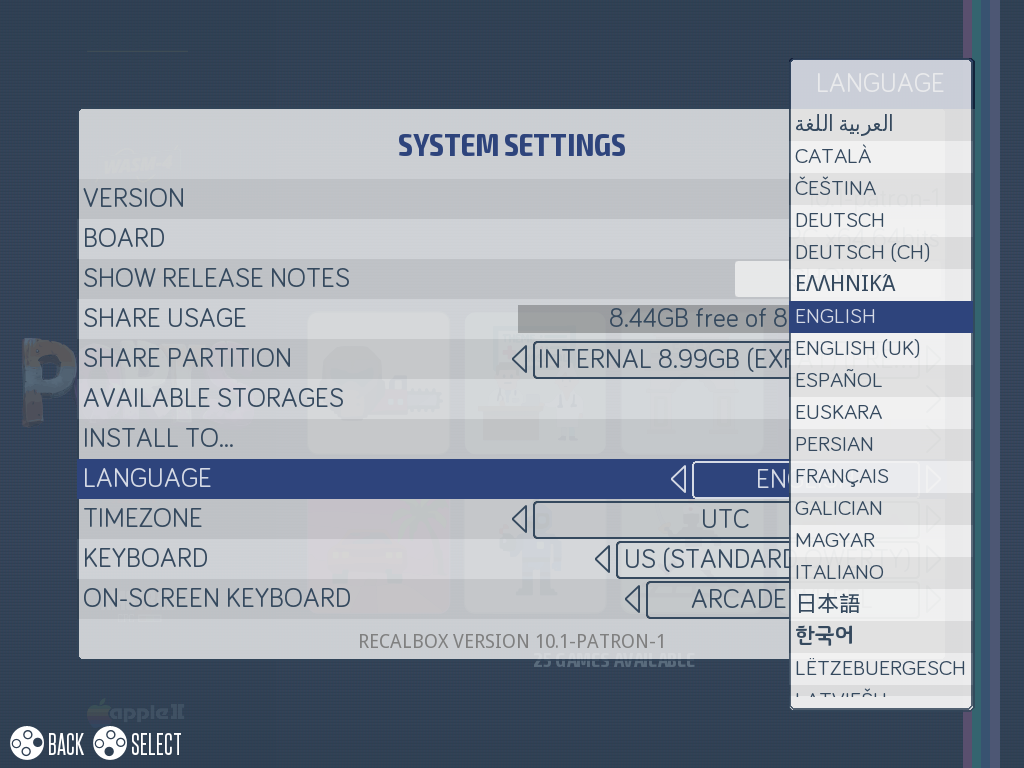
On the system selection screen, press START, then: SYSTEM SETTINGS → LANGUAGE → pick your language. Recalbox offers to restart; once it's back, the whole interface is in your language.
¶ 3. Configure your controller
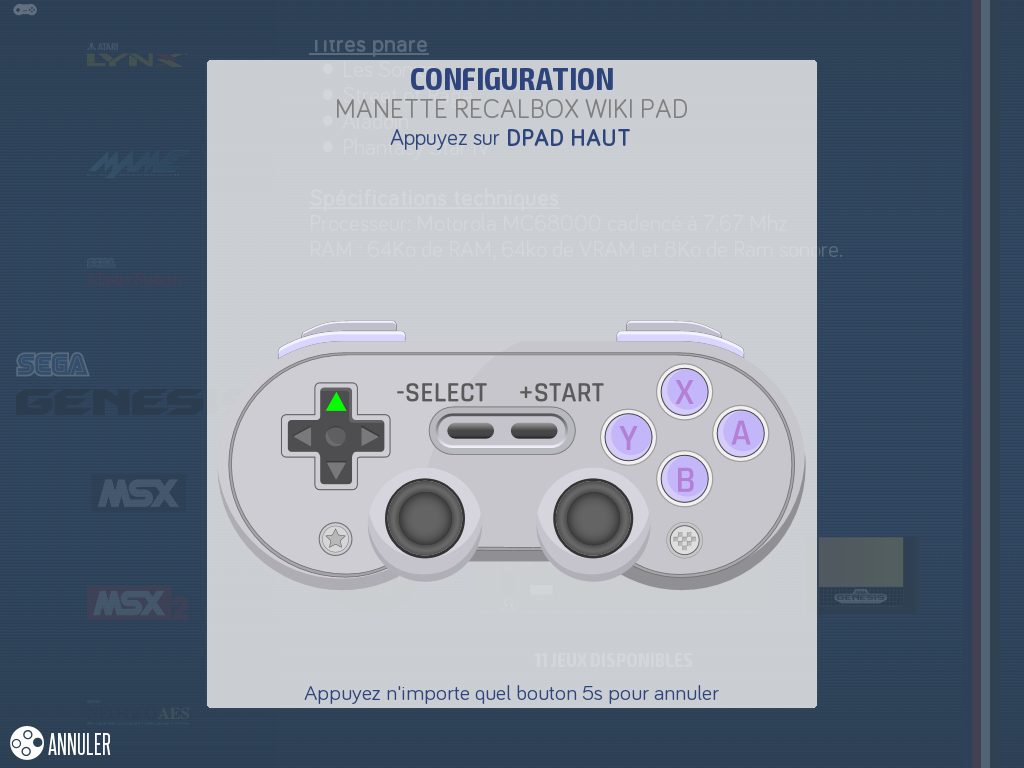
Since Recalbox 10.1, configuration is visual: your controller is displayed on screen and each button to press is highlighted — no need to know the button names anymore.
- USB controller: plug it in. If Recalbox doesn't know it, the configuration wizard starts automatically.
- Bluetooth controller:
START→CONTROLLER SETTINGS→PAIR BLUETOOTH CONTROLLERS, with the controller in pairing mode — details in Using a controller for the first time.
➡️ The complete step-by-step guide: Configure a controller
¶ 4. Play!
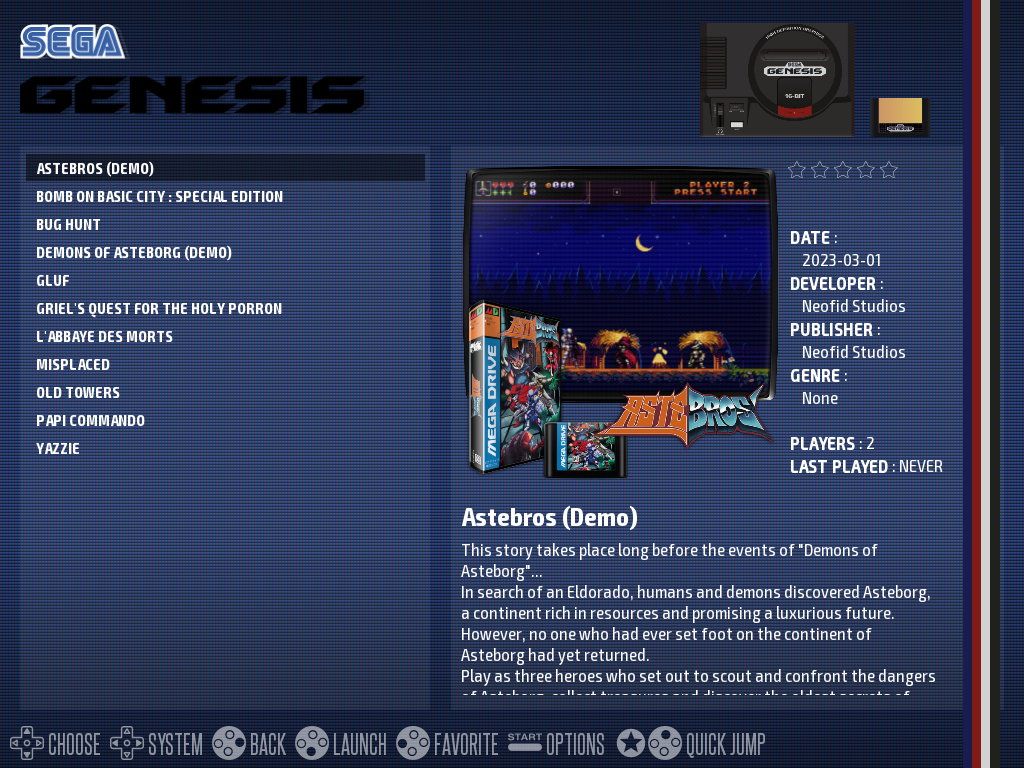
Recalbox ships with royalty-free games (homebrews and demos) on several systems: navigate with the D-pad, A to enter, B to go back. Launch a game and check that everything responds.
¶ 5. Shut down properly
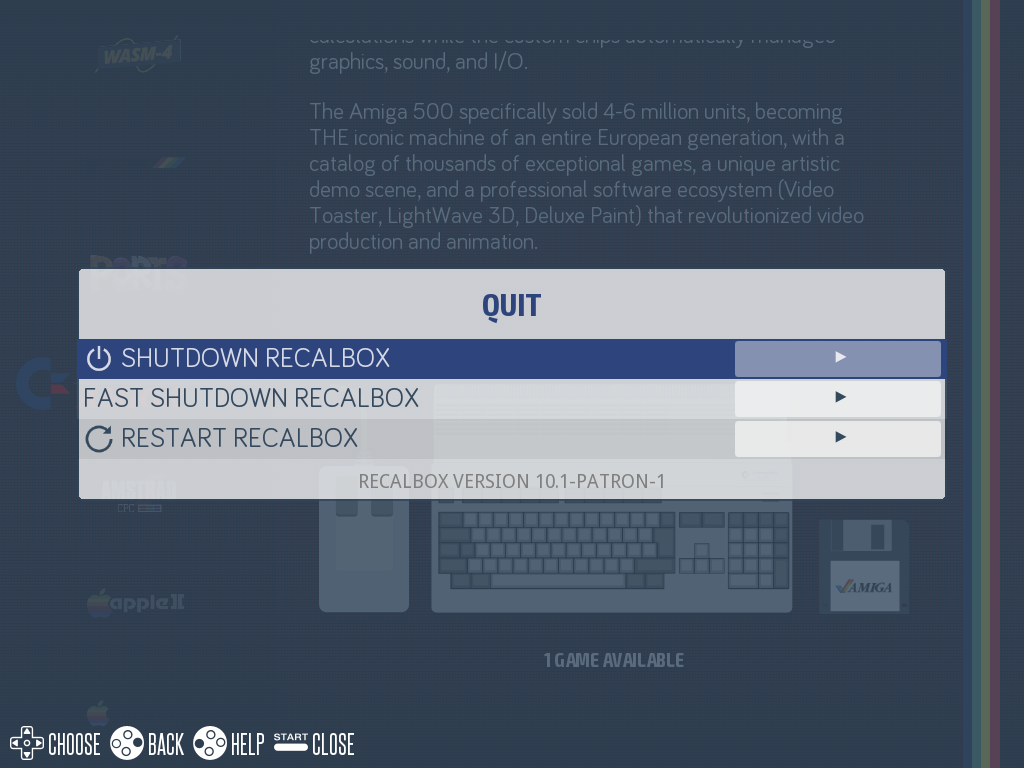
On the system selection screen: SELECT → SHUTDOWN RECALBOX, and wait for the complete shutdown before unplugging (on Raspberry Pi, wait until the LED stops blinking — unplugging too early can damage the SD card).
¶ What's next?
| You want to… | Head over to |
|---|---|
| Add your games | Add roms |
| Connect Recalbox to the network | Network (wired and Wi-Fi) |
| Use an external drive for your games | External storage |
| Discover the in-game shortcuts | Special commands |