Raspberry Pi Imager is the officially recommended tool to install Recalbox, on Raspberry Pi as well as on other machines. It is free, available on Windows, macOS and Linux, and it handles everything: downloading the image, decompressing it, writing it, verifying it.
Do not use Balena Etcher: it writes Recalbox images incorrectly and regularly produces installations that will not boot.
¶ Installing
Download Raspberry Pi Imager from the official Raspberry Pi page and install it.
¶ On a Raspberry Pi: Recalbox is in the list
You do not even need to download the image by hand.
CHOOSE DEVICE→ pick your Raspberry Pi model.CHOOSE OS→Emulation and game OS→Recalbox→ the version matching your model.CHOOSE STORAGE→ pick your microSD card.NEXTthenWRITE.
¶ On other machines: custom image
For a PC, a Steam Deck, an Odroid Go or an Anbernic:
- Download your device's image (a
recalbox-xxx.img.xzfile) from recalbox.com/en/download/stable. CHOOSE OS→Use custom→ select the.img.xzfile.CHOOSE STORAGE→ pick your microSD card or USB stick.NEXTthenWRITE.
Never decompress the
.img.xzfile yourself: Raspberry Pi Imager does it on the fly.
Only plug in the device you intend to flash. Writing erases everything on the selected device, with no way back. A backup drive plugged in at the same time is a backup drive you will lose one day.
¶ Customising the install (Recalbox 10 and above)
Before writing, Raspberry Pi Imager offers to apply custom settings. Recalbox 10 and later honour them:
| Setting | Effect on Recalbox |
|---|---|
| Hostname | The machine's name on the network (\\MYNAME, http://myname/) — replaces recalbox |
| Password | The root password for SSH and the network share — replaces recalboxroot. The user is always root |
| Wi-Fi | SSID and key, configured from the very first boot |
| Timezone | Correct local time without going through the menus |
| Keyboard | Keyboard layout |
| SSH | Enabled, with password or public key |
Answer No to that prompt if you are flashing a Recalbox version older than 10.0: it cannot read those settings.
Write down the password you choose: it replaces
recalboxrooteverywhere, and it cannot be recovered.
¶ How it goes
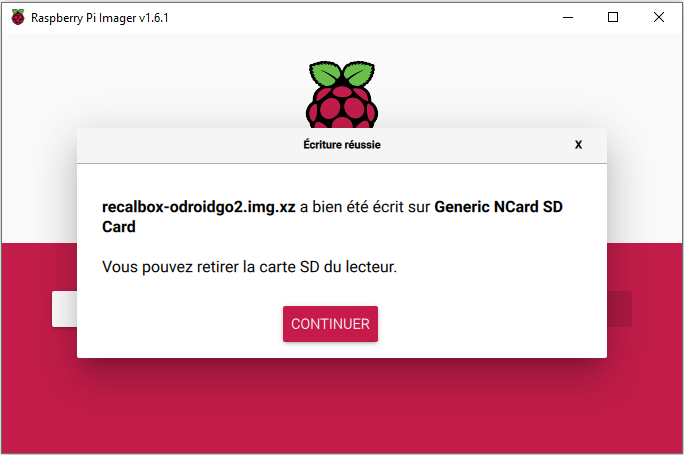
Raspberry Pi Imager writes the image, then verifies it automatically — do not quit before that second stage finishes. A message tells you when you can remove the device.
Then insert the card into your machine and power it on: Recalbox finishes its installation on its own. The rest is in Preparation and installation.
¶ Troubleshooting
- Writing fails every time: try another card reader, another USB port, or another card. Counterfeit microSD cards are common from cheap sellers.
- The card looks empty after flashing: that is normal, Windows only shows the
RECALBOXpartition. The games partition is created on the first boot — see The "SHARE" partition does not show up in Windows. - The machine does not boot: check that you took the image matching your device, and that your power supply is adequate.