An NVMe SSD is the ideal storage for a large game library: fast, silent, and far more durable than a microSD card. On a Raspberry Pi 5 it plugs in through an M.2 HAT; on a PC, it is simply the machine's internal drive.
Good news compared to older versions: since Recalbox 10, internal NVMe and SATA drives are mounted automatically at boot, just like USB sticks. There is nothing left to write in
recalbox-boot.conf, nor insmb.conf. The manual procedures you may find elsewhere on the Internet are no longer needed.
¶ 1. Prepare the SSD
- Format the SSD as exFAT from your computer. Recalbox never formats an existing drive.
- Other recognised filesystems are FAT32, EXT4 and NTFS — but exFAT remains the right choice: no file size limit, readable on Windows, macOS and Linux, and fast under Recalbox.
Avoid NTFS: its Linux support is still imperfect and writes may corrupt the drive. If you have no choice, keep that drive read-only.
¶ 2. Connect the SSD
- Raspberry Pi 5 / 500: fit the M.2 HAT and the SSD following the HAT's instructions, then plug the power back in.
- PC: the internal SSD is detected as-is.
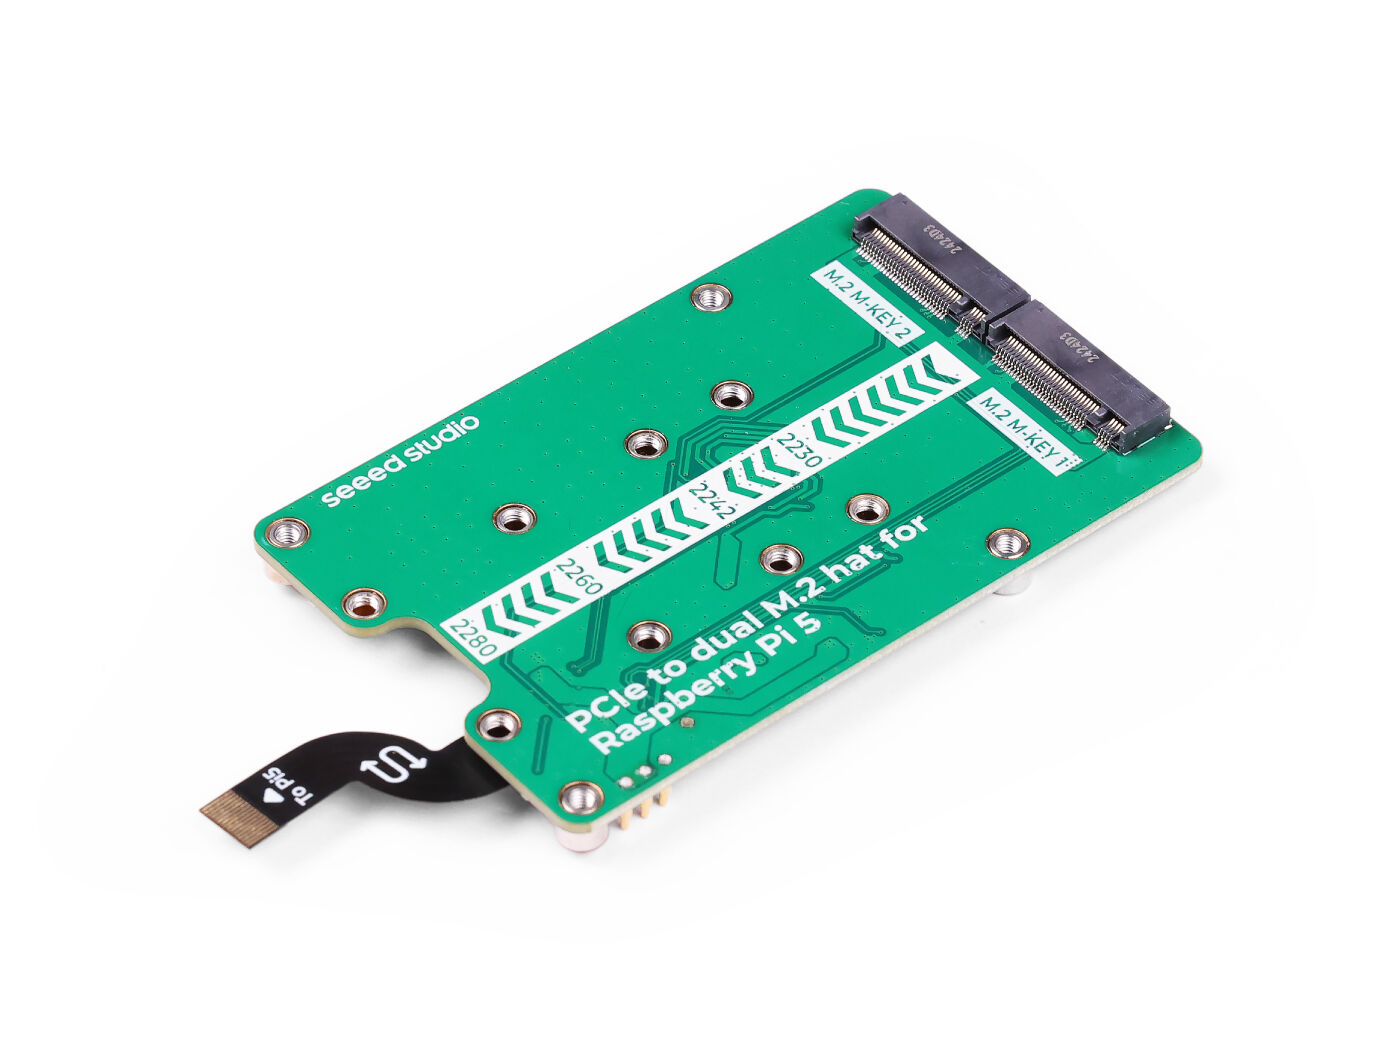
¶ Enable PCI Express 3 (Raspberry Pi 5)
The Raspberry Pi 5 starts its M.2 port in PCI Express 2. PCI Express 3, supported by most SSDs, doubles the throughput — but it has to be enabled manually.
-
Open the
recalbox-user-config.txtfile (see Editing the boot configuration files): it sits at the root of theRECALBOXpartition, readable from a computer, or in/boot/recalbox-user-config.txtover SSH. -
Add this line:
dtparam=pciex1_gen=3 -
Reboot.
Also remember to update your Raspberry Pi bootloader:
START→ADVANCED SETTINGS→BOOTLOADER UPDATE. Old versions handle NVMe boot and detection poorly.
¶ 3. Check and initialise
Boot the Recalbox: the SSD is mounted automatically under /recalbox/share/externals/hdd0 (the first free slot: hdd0, hdd1, …).
- Press
START→SYSTEM SETTINGS→AVAILABLE STORAGES: your SSD appears in the list. - Select it to see its
FREE SPACE,STORAGE NAME,FILE SYSTEM,NETWORK ACCESS(the name it is shared under on the network) and theCOMPATIBLE WITH RECALBOX?line. - Choose
INSTALL RECALBOX ROM FOLDERS→INITIALIZE!: Recalbox creates the rom folder tree on the SSD. It will be picked up on the next boots.
The SSD is also shared on the network automatically: it shows up as an extra folder next to share when you open \\RECALBOX (see File management).
The
AVAILABLE STORAGESentry only appears when at least one extra storage device is detected.
¶ Moving all your data to the SSD
The steps above add the SSD as an extra rom storage. If you want the whole share folder (roms, bios, saves, configuration) to live on the SSD, use START → SYSTEM SETTINGS → SHARE PARTITION, select the drive, and reboot.
And if you want to install Recalbox itself on the SSD (PC, Raspberry Pi 3/4/5), use the built-in installer: Installing Recalbox on an internal disk.
¶ What if the SSD does not show up?
-
Check that the system sees it — connect over SSH and type:
blkidYou should see a line like
/dev/nvme0n1p1: LABEL="NVMe 256G" UUID="…" TYPE="exfat". If the drive does not appear at all, the problem is hardware (HAT not seated properly, insufficient power supply, outdated bootloader). -
Check that it is mounted:
mount | grep externalsThe expected line looks like
/dev/nvme0n1p1 on /recalbox/share/externals/hdd0 type exfat (rw,…). -
The drive is seen but not mounted: it is almost always the filesystem. Recalbox only mounts
vfat,ext2/3/4,hfsplus,ntfsandexfat— an encrypted or APFS partition will not do. Reformat it as exFAT. -
Slow drive: if the SSD is only ready after Recalbox has started, tell the system to wait for it by adding
sharewait=30(seconds) to/boot/recalbox-boot.conf— see Editing the boot configuration files.
Some SSDs expose an extra small partition (a few hundred MB
EFIpartition created by a previous system). Recalbox mounts every compatible partition separately: identify the right one inAVAILABLE STORAGESfrom its free space before initialising it.
¶ Making it read-only
For an SSD that Recalbox must never modify (a reference romset, a drive shared with another system), remount it read-only over SSH:
mount -o remount,ro /recalbox/share/externals/hdd0