Since Recalbox 10.1, you can install Recalbox on an internal disk (PC disk, NVMe SSD or USB drive on a Pi…) directly from a Recalbox booted from a USB stick. No more disk image juggling: the built-in installer takes care of everything.
Typical use case: a PC (laptop or desktop) you want to turn into a dedicated console — even if its internal storage is not removable.
Available on PC (x86_64) and Raspberry Pi 3, 4 and 5.
¶ 1. Prepare the bootable USB stick
- Flash the Recalbox image for your machine onto a USB stick.
- Boot the machine from that stick (if needed, pick the stick in the BIOS/UEFI boot menu — often
F8,F11orF12at startup). - Let Recalbox finish its first boot.
¶ 2. Start the installation
- Press
START→SYSTEM SETTINGS→INSTALL TO.... - The list of detected disks is displayed: select the target internal disk then
INSTALL HERE. (The disk Recalbox booted from — your USB stick — is grayed out: you cannot install onto the medium currently in use.)
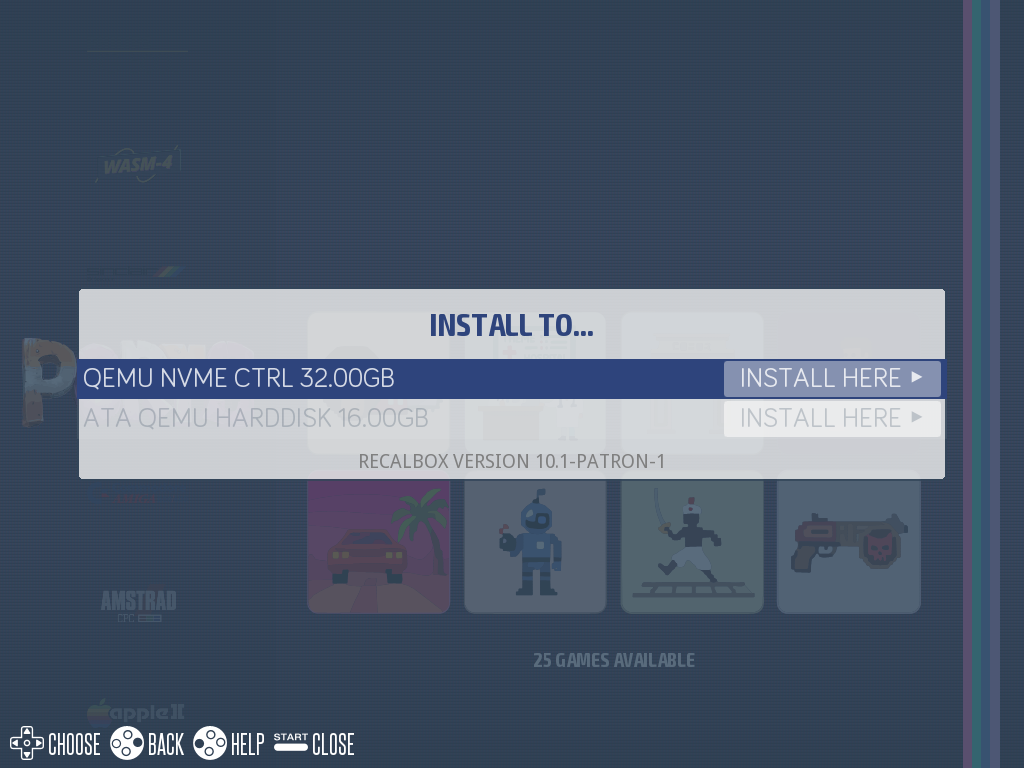
- If the disk already contains data — a first warning
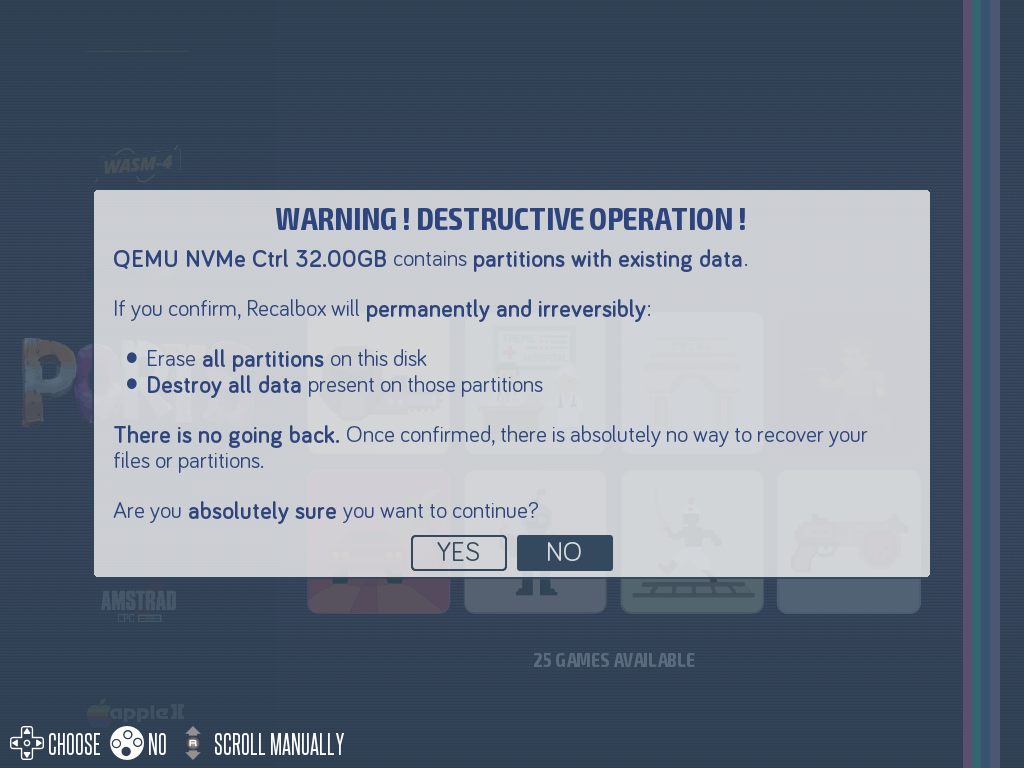
WARNING ! DESTRUCTIVE OPERATION !is displayed: the installation permanently erases all partitions and all data on the chosen disk. Double-check that it is the right disk before answeringYES(NOis selected by default). A blank disk skips straight to the next step.
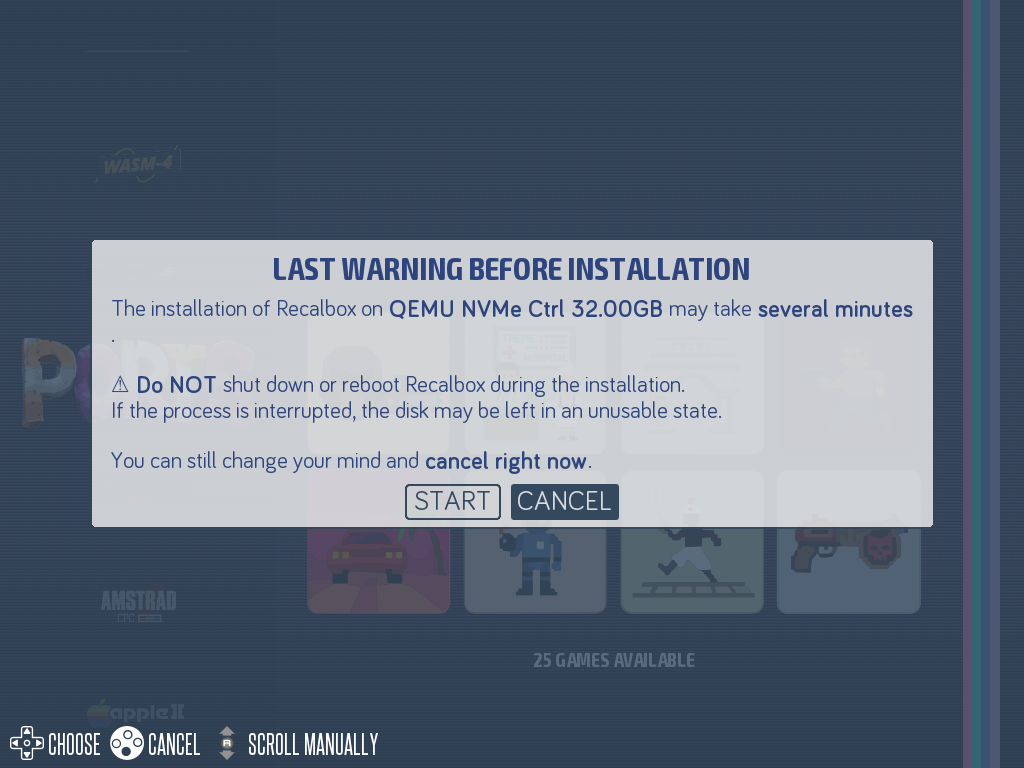
- Last warning — the installation takes several minutes and must never be interrupted (no power-off, no reboot: the disk would be left unusable). Confirm with
START(CANCELis selected by default).
¶ 3. Let it run
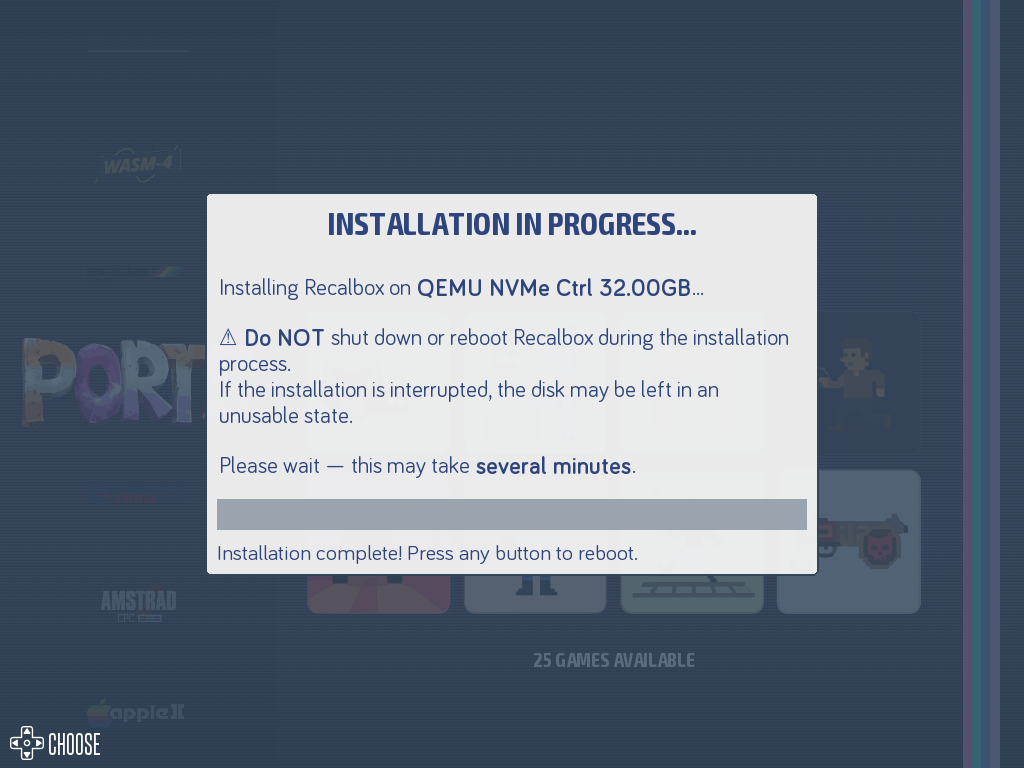
The installer shows its progress in real time: partition creation (system, data, overlay), formatting, then file copy with a counter.
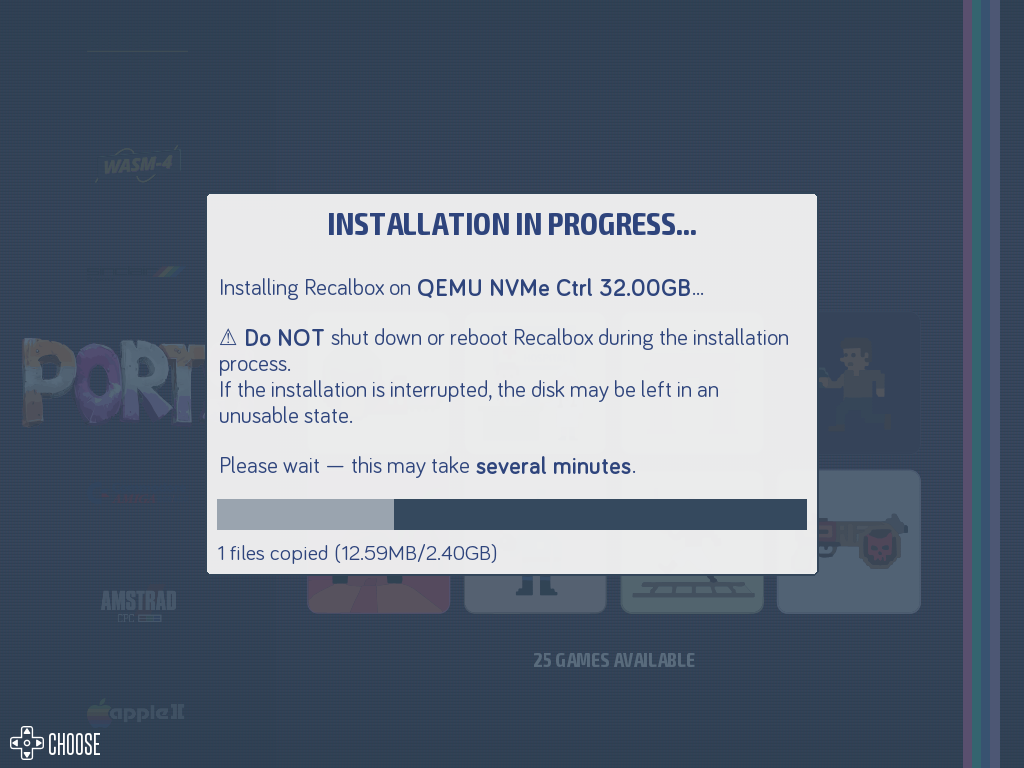
At the end, the message Installation complete! Press any button to reboot. is displayed:
- Press a button — Recalbox reboots.
- Remove the USB stick while it reboots.
- The machine now boots from its internal disk. You're done!
Your games and data will go on the internal disk's SHARE partition, created as exFAT and automatically sized to the disk's remaining space.
¶ Frequently asked questions
The internal disk doesn't show up in the list? Check that it is properly detected by the BIOS/UEFI. On a Raspberry Pi 5 with an NVMe SSD, check the NVMe support.
Can I keep the Windows/Linux installed on the disk? No — the installation erases the entire target disk. No dual-boot.